

Everyday Scenes
Laptop Stickers: Build a Layout You Love
Build a laptop sticker layout with original characters, everyday icons, and custom art. Explore placement, sizes, finishes, and a look that feels like you.
Quick answer
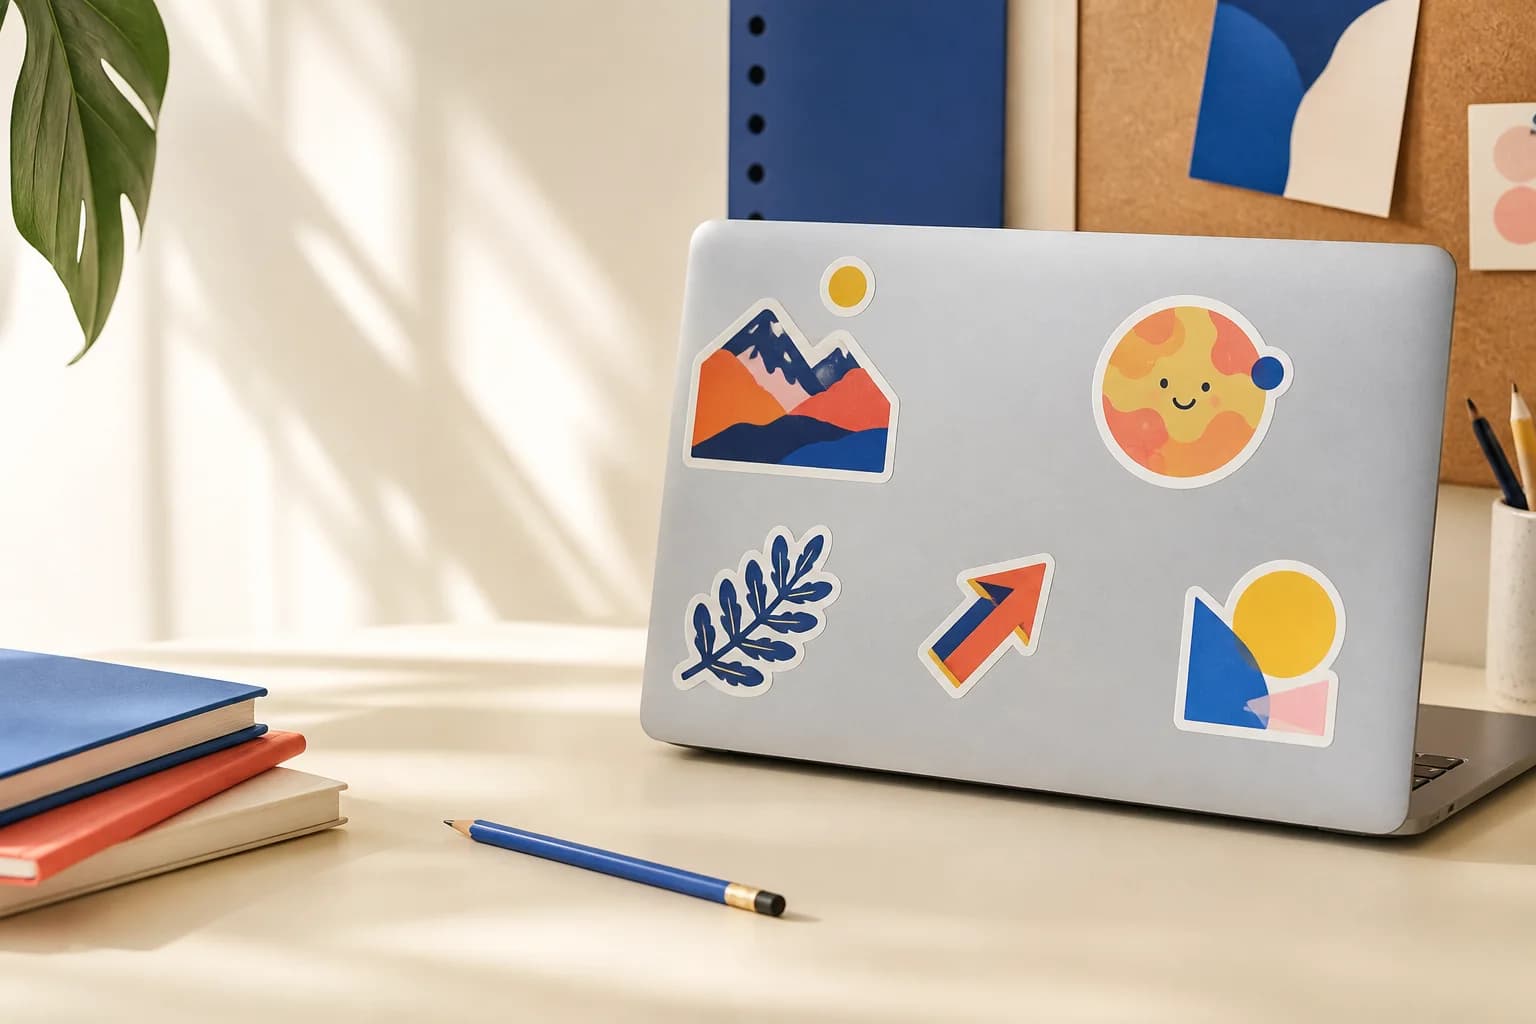
A good laptop sticker layout leaves vents, hinges, screws, cameras, ports, and required labels unobstructed. Start with one anchor design, place a paper outline before peeling, and add smaller pieces only after the focal point feels balanced. Use a smooth, clean, dry exterior surface that the laptop maker allows you to decorate. StickerMigo products are weather-resistant vinyl with a soft matte laminate, but removability and residue can vary by coating, age, heat, and adhesive contact, so apply and remove conservatively.
Map functional no-sticker zones first
Decoration should never interfere with cooling, service, movement, or identification.
Close the laptop and mark hinges, vents, rubber feet, screw covers, ports, microphones, cameras, asset tags, and regulatory labels. Keep stickers on stable exterior panels rather than keys, trackpads, palm rests, screens, or surfaces that become hot. If the maker's care instructions prohibit adhesives on a finish, follow those instructions. A layout is successful only when the computer remains easy to use, clean, identify, and service.
Build around one visual anchor
Place the largest or most meaningful sticker before filling gaps.
Set the anchor slightly off center or align it deliberately with the laptop geometry, then pause. Use two or three colors from that piece to guide the rest of the collection. Paper templates help compare a quiet cluster with a fuller collage without committing adhesive. Keep breathing room around the focal subject and rotate supporting pieces only when the artwork still reads naturally from the laptop's usual viewing direction.
- Choose one anchor sticker that carries the mood
- Place larger shapes before smaller supporting art
- Keep room around vents, hinges, and labels
- Repeat one or two colors across the layout
- Add a character sticker where the eye naturally lands
- Pause after each addition so the composition can grow naturally
Choose scale for both open and closed use
The lid is seen at different distances and orientations throughout the day.
A small face or wordmark that looks crisp in a browser may disappear across a room, while an oversized design can dominate every other piece. Check the artwork at actual printed size and decide which direction is upright when the laptop is in use. Leave room for future stickers if the collection will grow. A deliberate first arrangement is easier to extend than a full surface packed without hierarchy.
- a quiet cluster or a full collage
- matte softness or glossy color
- one main character or an ensemble
- symmetry or an off-center composition
Prepare the coating gently
Clean according to the laptop manufacturer's instructions and let the surface dry.
Do not use a strong solvent merely to improve adhesion. Coated aluminum, soft-touch finishes, painted plastic, and protective skins respond differently to cleaners and pressure. Avoid applying over dust, oil, or a warm panel. Press from the center toward the edge without scraping the laminate. If the sticker lifts near a curve or hot area, relocate or remove it rather than adding aggressive glue.
- placing all large stickers in one corner
- mixing unrelated art without a visual thread
- covering useful laptop details
- filling every gap before the layout has a focal point
Plan for eventual removal
Time, heat, light, and coating condition can change how adhesive releases.
Lift an edge slowly and stop if the surface coating moves, discolors, or feels soft. Gentle warmth may help some materials, but only when the device maker permits it and the laptop is powered down and cool enough to handle safely. Remove residue with a method approved for that exact finish, testing a hidden area first. No general guide can promise residue-free removal on every laptop coating.
Ready to make it yours?
Choose a favorite object, a clear main subject, and a mood that feels like you. Then bring your artwork, photo, or prompt to our custom sticker studio to shape a one-of-a-kind sticker for everyday life.
StickerMigo journal
Made for everyday stories
Updated with fresh ideas for custom, lifestyle, and character stickers.